Apart from the choice of microphone model, the following factors are decisive for the resulting sound quality:
Space
The room (unless it is extremely large) must be acoustically treated. Acoustic modules and bass traps are affordable, and can prevent the unprofessional sonic impression created by recording in an ordinary room. Carpets, bookshelves and other furniture also dampen the sound energy in the room and dissipate reflections. The ceiling is most often forgotten. Ceilings are almost always flat surfaces that create disturbing reflections.
Large rooms are easier to mike, because the person speaking will normally be much closer to the microphone than the main sources of reflection (the walls and ceiling) are. Thus the ratio of direct sound to diffuse sound is inherently more favorable.
Positioning the microphone
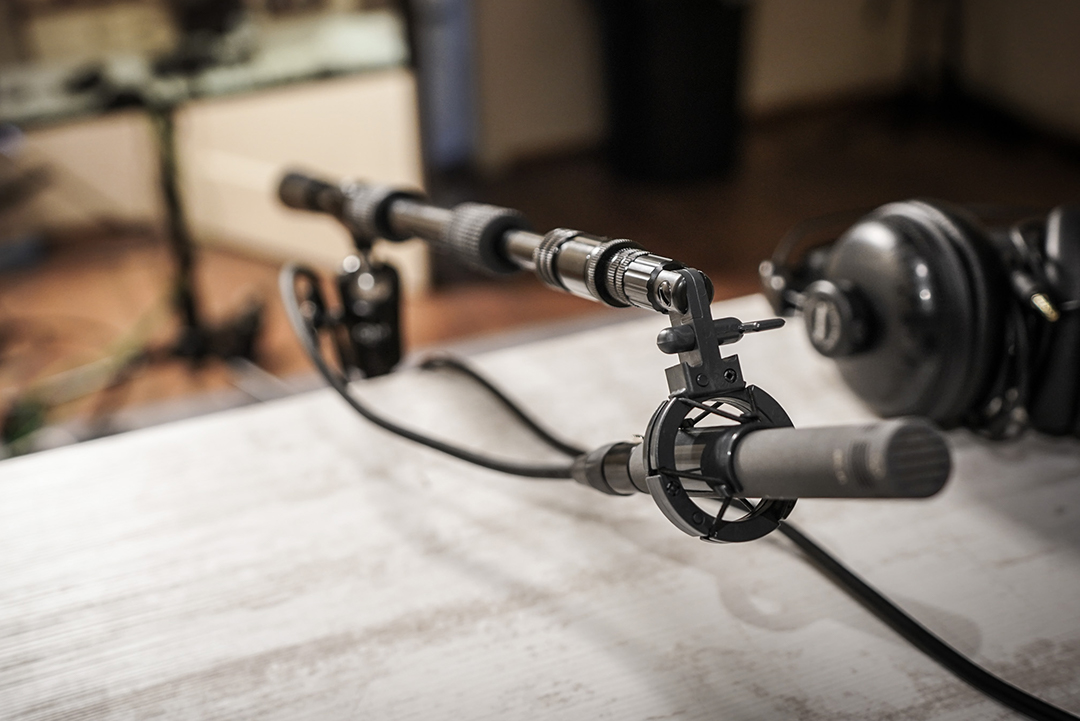
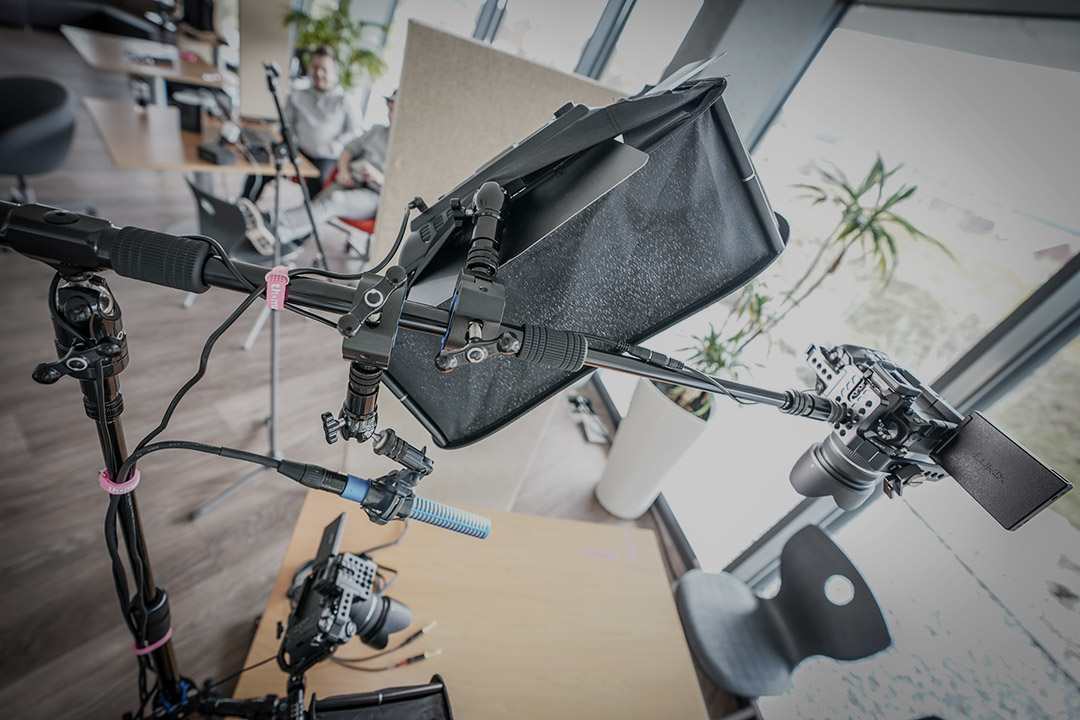
Miking distance is everything! The closer the microphone is to the person speaking, the louder the direct signal will be, and the quieter the interfering signal (echoes from the room). It’s not enough to place a microphone on or near the camera; that is almost always too far away even for directional microphones. The microphone must be apart from the camera, either on a table directly in front of the speaker, or, as with film sound, aimed downward from above the frame.
Directional characteristic
High-quality directional microphones, used correctly, are much better at picking up the direct signal (while reducing the room sound) than the built-in microphones of a camera, mobile phone or laptop.
Highly directional microphones include the supercardioid and shotgun types. These are used mainly when the person speaking doesn’t move much, thus remaining “on mike”.
Since there is almost always some sound from off-axis, it is crucial that the microphone be as transparent-sounding from the side as from the front. This is the case with high-quality microphones such as the Schoeps MK 41 or MK 4.
Clarity and balance
Inexpensive, small microphones are often inferior to high-quality condenser microphones in terms of their signal-to-noise ratio, since their construction means that they pick up a much smaller useful signal. Directional (cardioid) miniature microphones are even worse.
Furthermore, inexpensive, small microphones often sound "peaky" and sibilant; in general their sound is very tiring to listen to.
Interface
Even relatively low-cost USB audio interfaces (e.g. around 200€/$250) can achieve very good results. The interface must provide a balanced input with phantom powering for operation of a SCHOEPS microphone--usually 48-Volt phantom powering.
Built-in microphones, or microphones connected to the microphone input of a cell phone or laptop, usually use an automatic gain function and other active algorithms for level setting. The effects of these are always audible, and are frowned upon in professional applications. (They cause levels to “pump” up and down in response to sounds in the environment in addition to the main program material.) In general, recording levels should be set manually, perhaps with a limiter to protect against momentary overloads.
Post Production
A key factor in bringing a microphone recording up to a professional level is the use of a compressor. The dynamics of a raw voice often exceed what we are used to from radio or cinema. Slight to moderate compression also helps increase the intelligibility of speech when listening in noisy environments.
However, extreme use of compressors and maximizers, e.g. to greatly increase the loudness of the spoken material, should be avoided. This makes the sound unnatural and the artifacts, often referred to as “pumping”, again make the recording seem unprofessional. Streaming portals such as YouTube have been adjusting the loudness among recordings for some time now. Thus depending on the application, a large amount of compression is often no longer necessary at all.
If an appropriate, high-quality microphone has been well placed, it shouldn’t normally be necessary to process the signal with an equalizer. Sometimes, however, unfavorable acoustic conditions or insufficient placement options for the microphone will call for EQ. Mainly this will be to reduce prominent, annoying frequency components.
The sonic character of speech can also be adjusted across a broader band. For example, it may be useful to reduce low frequencies to compensate for proximity effect at close range if a speech capsule wasn’t used. Another good use of EQ is to reduce solid borne noise (mechnical vibrations from the table or stand) or ambient noise in the bass range with a low-cut filter. Some microphones, such as the Schoeps CMIT series, have this type of filter built in or can be modularly configured with the Colette CUT 60 filter.