Miking a Car

Challenges and Experiences

Author: Matthias Richter, Production Sound Mixer

Photos: Matthias Richter, André Zacher


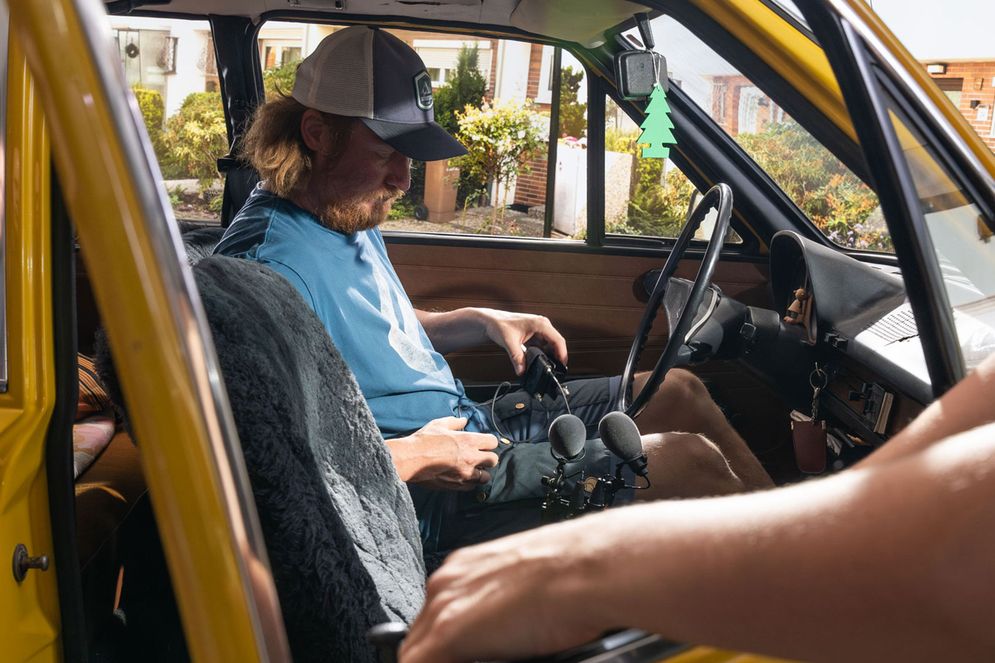
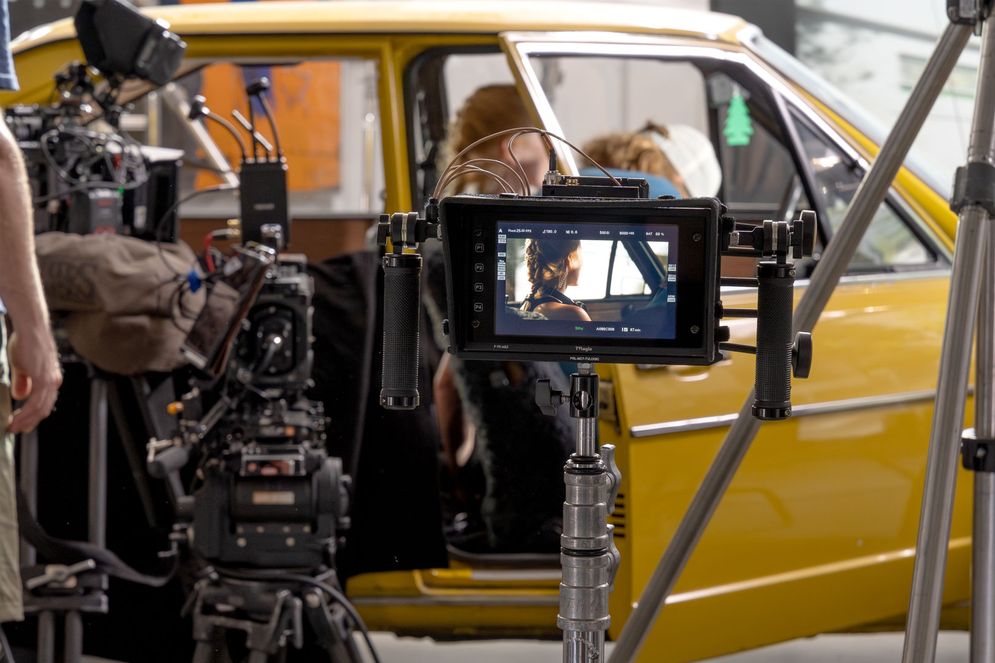
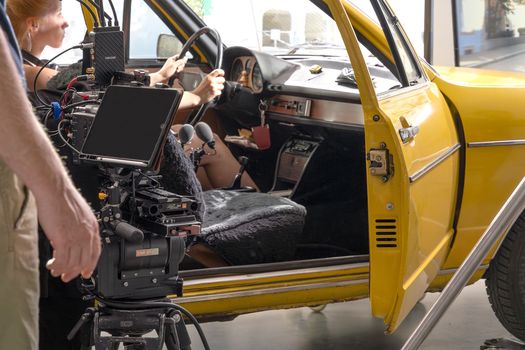
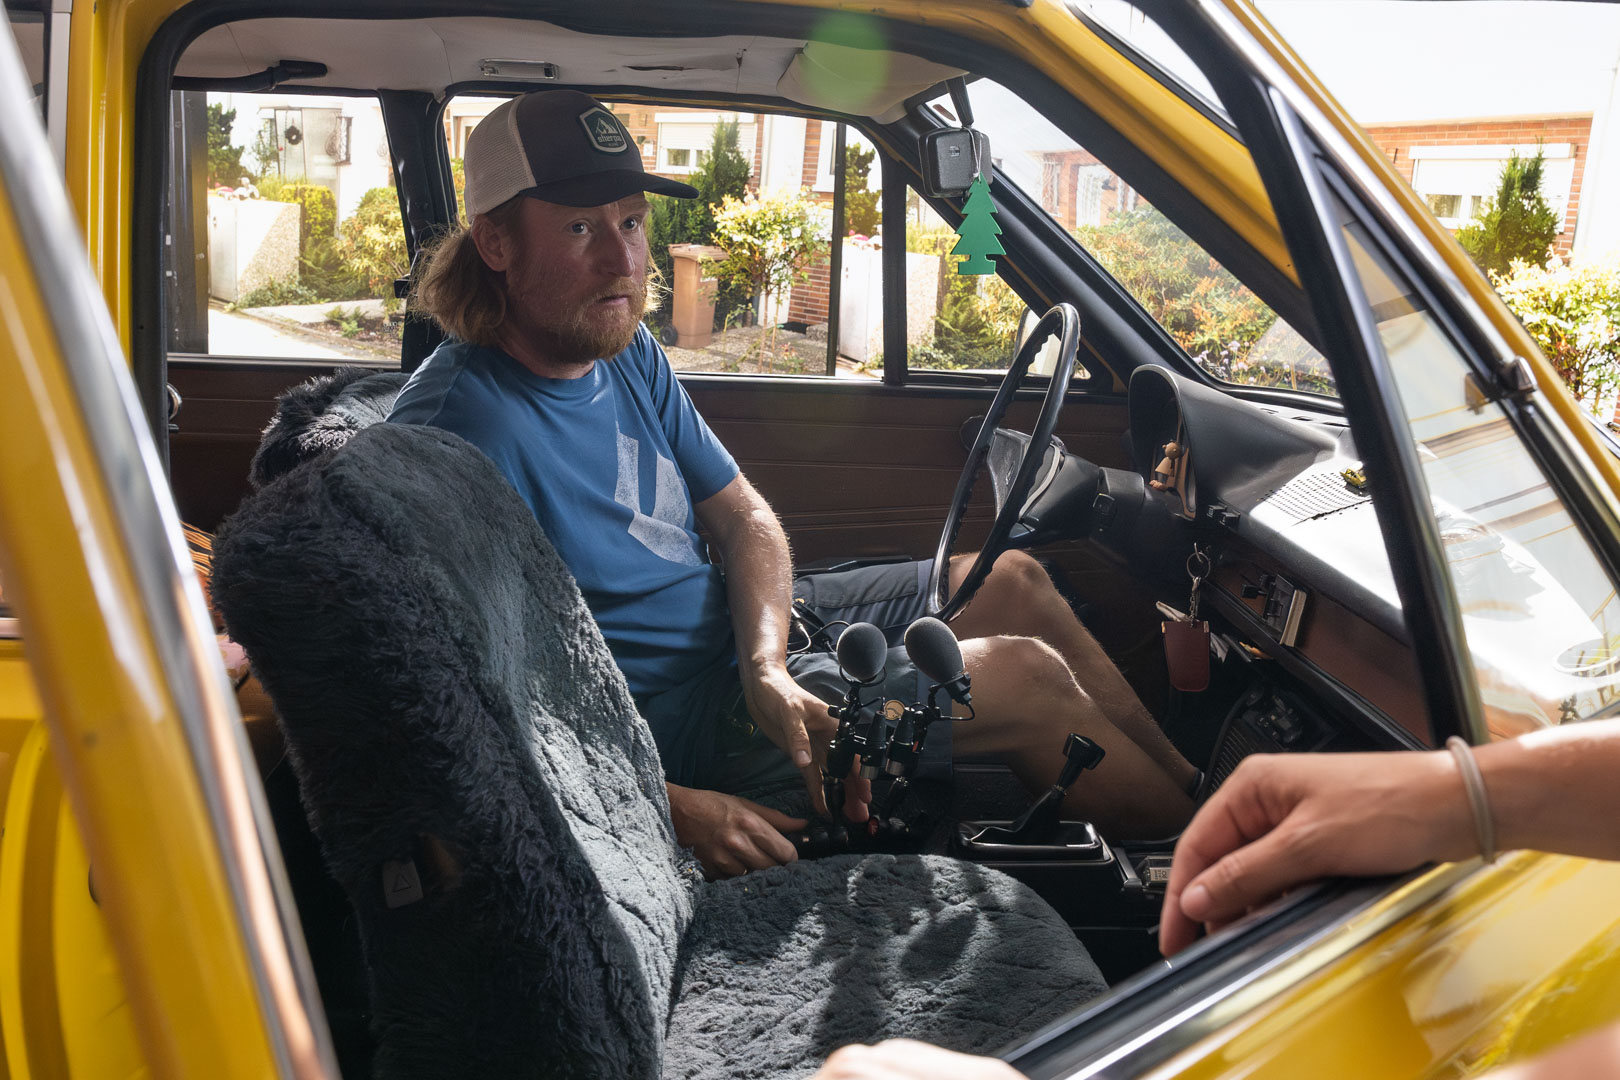
Recording dialog in a car always presents us sound engineers with unique challenges.

These include:

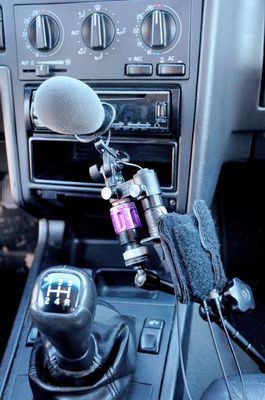
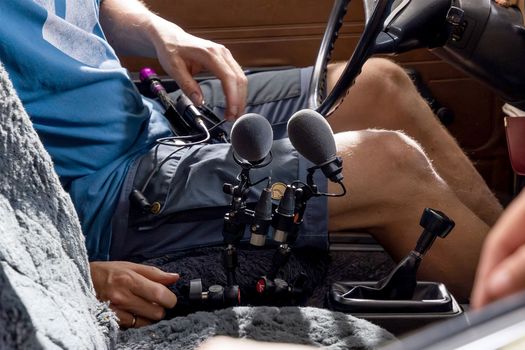
  • For good speech intelligibility, the ratio of speech to road noise must be as great as possible, with the microphone placed near the actor’s mouth.
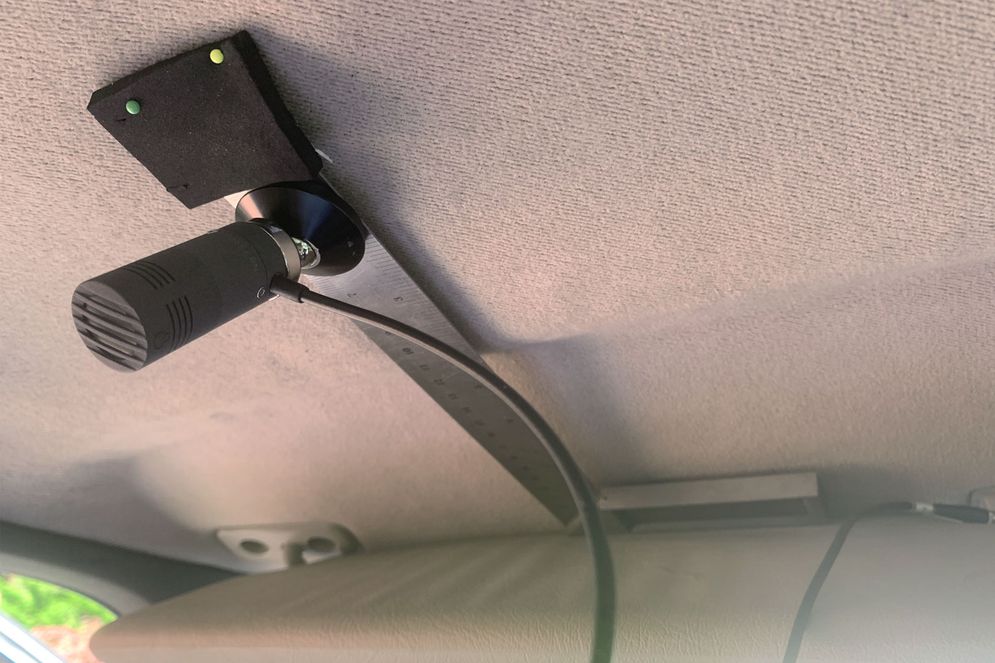
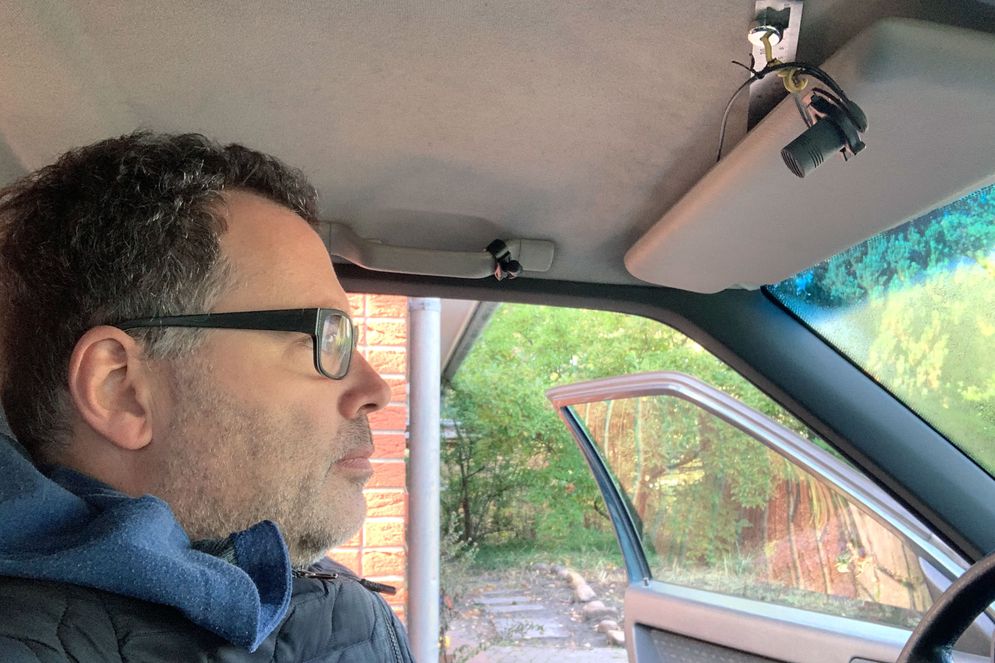
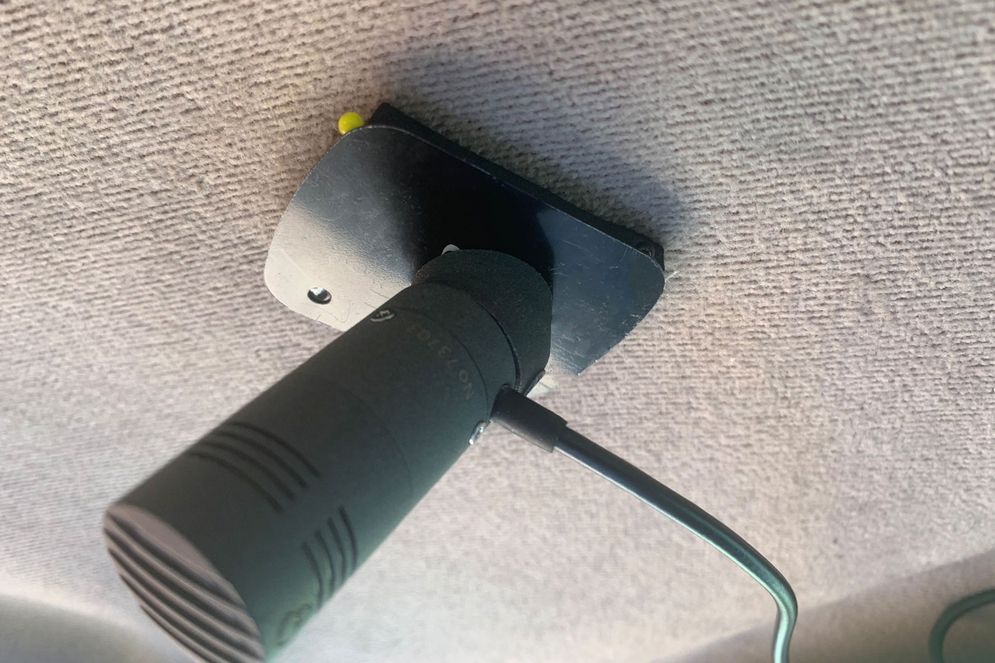
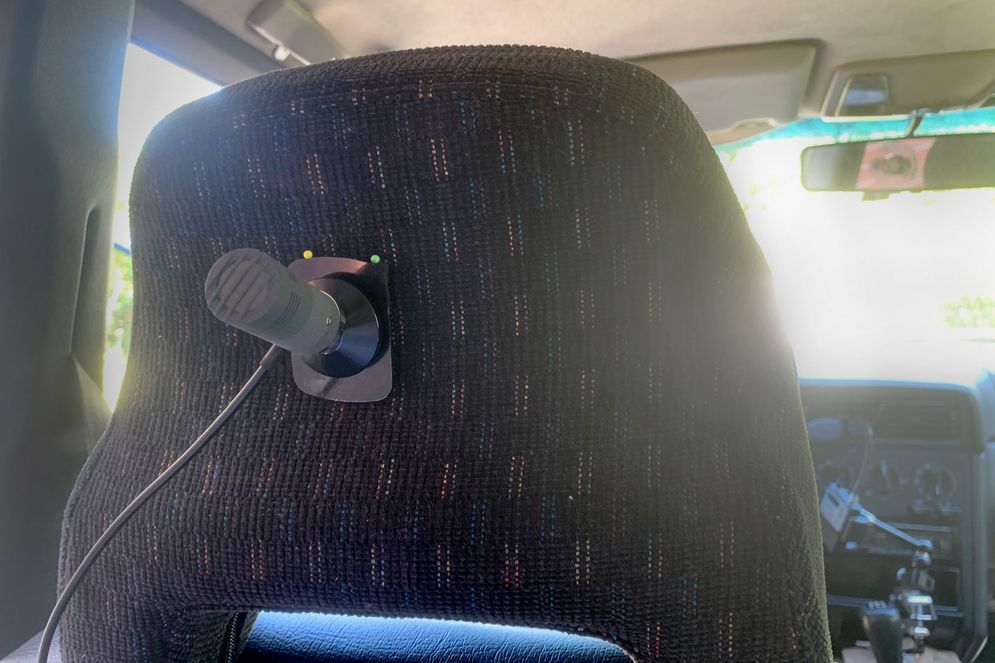
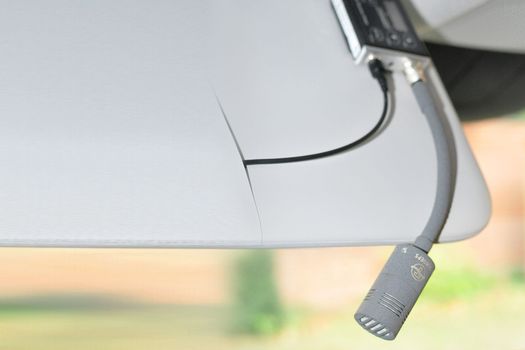
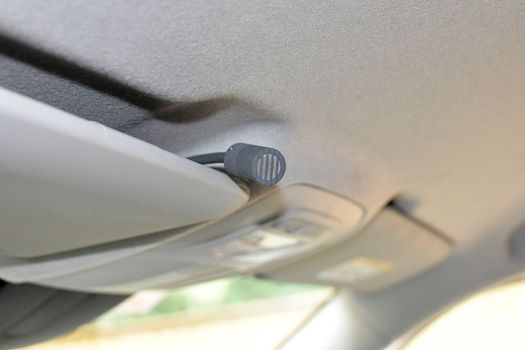
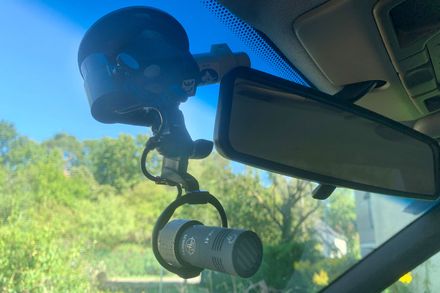
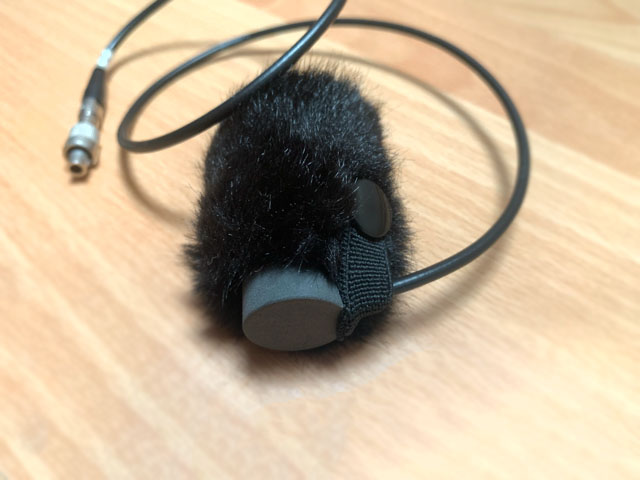
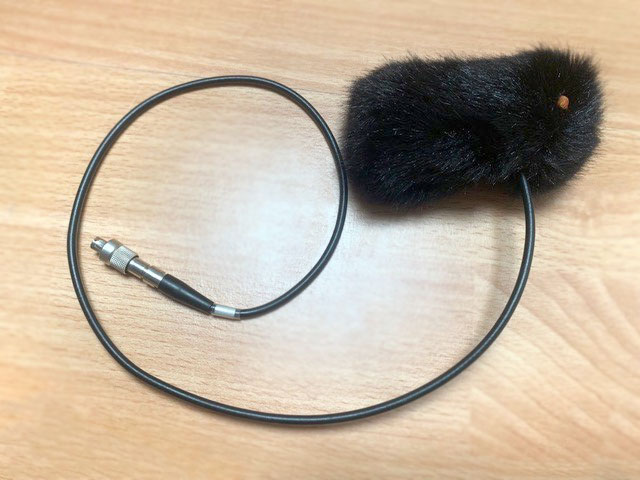
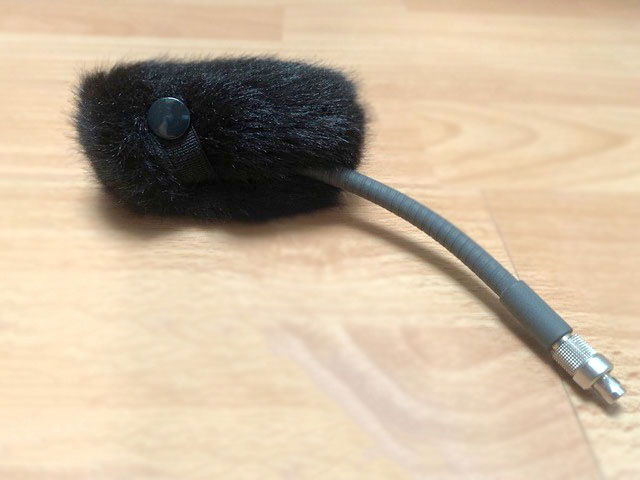
  • The microphones must be installed (almost) invisibly
  • It must be possible to change the setup very quickly to adapt to changing camera settings
  • Different cars offer different surface materials and mounting points for attaching microphones
  • Two cameras are often used in parallel, which makes "hiding" even more difficult
  • Head and body motions of the actors cannot be compensated as one does with a boom; thus additional spot mikes may be necessary
  • Open windows make sound recording even more difficult; noise and reverberation from outside the vehicle influence the recording, and the necessary windscreen (if the car is actually moving) increases the size of what has to be concealed


Here we would like to give you a few ideas and suggestions.

In the following material we will present:

For dialog recording in a vehicle, there are several basic microphone positions:

  • from below - miking from the center console
  • from above - using the sun visors or the rear-view mirror
  • from in front - using suction-cup holders attached to the windshield

In my experience, with actors who do their own driving, microphone placement from above is recommended, at least for the driver. A microphone that is placed near the gearshift, handbrake or steering wheel is always exposed to the risk of unintentional contact, as well as to acoustic masking due to arm motions.

A different, primary consideration is that obstructing an actor’s field of vision while driving is a source of danger to which, in my opinion, sound engineers should not expose themselves. If an accident occurs, there will at least be discussions as to why "sound" put their microphones there, regardless of any prior approval of the microphone position.

In my experience, miking from below generally means more monitoring work for the sound team. Each time the actors get in and out, each time camera and lighting positions are readjusted, the microphone position has to be checked to make sure that it’s still correct.

There are of course camera settings that make it difficult to install the microphones in the upper area. A lateral "2-shot" will tend to show at least some of the sun visor of the rear actor. In this case, it would be possible to use microphones from the front passenger’s sun visor, or in the area of the rear-view mirror.

To avoid wasting even a centimeter, a variable rail can be useful. This is fixed to the back of the sun visor, but can be adjusted in length and angle so that the microphone ends up in the perfect spot.

As always, creativity and a wealth of ideas are required here. The CMC 1 KV is an amplifier for the MK series capsules with magnetic steel integrated into its housing. This allows the CMC 1 KV to be attached to magnetic parts. The side-exit cable further reduces the size of the arrangement, and enables the rear of the amplifier to be flat.

Another option is to use a steel protractor. The "body" can be fixed to the sun visor with silicone pads, for example, and a CMC 1 KV positioned at the end of the steel ruler using a magnet. The ruler can also be fixed to the roof of the car with pins—test beforehand in an inconspicuous place, though, that the pinholes won’t be visible afterwards.

For optimum decoupling, a shock mount is of course recommended. However, even that additional 2 cm is often too much to remain invisible to the camera.


If the subject vehicle allows it, you can, for example, attach a thin steel plate to a piece of foam rubber and fix this in turn with four pins anywhere on the ceiling. This approach works especially well for actors in the back seat of the vehicle. But of course you can also use the cover of the front seats to attach such a steel plate to the back of a headrest.
As always, test the material beforehand, and consult with the car wrangler, especially when historic vehicles are involved.


The CMC 1 SO is a very compact variant, and therefore suitable for extremely rapid installation. This amplifier with its integrated, flexible gooseneck can be powered directly via a compatible transmitter with P48.


But even a CMC 6 amplifier can be easily concealed in the sun visor in combination with a GVC capsule joint. The additional CUT 60 filter reduces unwanted frequencies of structure-borne noise even before the signal reaches the transmitter input.

If the camera position leaves extremely little room for positioning the microphone in the area of the sun visor, often the only option is to install the "naked" microphone using Bostik or "Sticky Stuff". These sticky materials can be removed without leaving any residue and hold the microphone in position.

When shooting is done from the back seat (over-the-shoulder), the sun visors are often also in the picture. Here, miking is only possible from below (if at all). Small “magic arms” are very useful here. These can be mounted and aligned with appropriate screw clamps, e.g. on the handbrake or other stable points. The use of microphone suspensions is recommended here, as otherwise too much structure-borne noise will be transmitted from the vehicle to the microphone. The compact design of the CMC 1 L amplifier with capsule (or CCM microphone), combined with a MINIX suspension from CINELA, results in a very compact solution for which a good position can usually be found.

If the subject vehicle has drink holder recesses in the center console area, a modified cell phone holder can also serve as the holder for the microphone.


For recordings in a studio or in a parked car, the distance to the microphone can be somewhat greater. Since you don't have to fight against driving noise, the limiting factor is more likely to be the room acoustics of the toy vehicle.


A CCM 4 (or CMC 1 L + MK 4) from the direction of the windshield (mounted on a suction base) can achieve excellent results here. The coverage of the cardioid is wider and more forgiving of the actors’ movements. An MK 41 supercardioid might catch unwanted reflections from the windshield due to its rear lobe.


There are additional requirements if the film is being shot with open windows: adequate wind protection becomes an issue.
For this reason, only the necessary windows should be open, to avoid drafts which are extremely difficult to control. The primary recommendation is to mike from below, from the area of the center console, so that the natural shadowing effect of the car doors can protect the microphones from moving air due to the vehicle’s motion.

No mass-produced windscreen varieties are currently available, but I can recommend two products from Bubblebee Industries:

  • The Windkiller 4018 leaves the flat back of the CMC 1 KV free so that even with a windscreen, the magnetic mount can still be used.
  • The Windkiller 4097 is somewhat larger, and completely encloses both the CMC 1 KV and the CMC 1 SO.

Things get more difficult when the scene actually shows closed windows, but the camera (for the sake of a side shot) projects into the car through an open side window. The only possibility here is to work together with the other participating departments (camera, lighting, grip) to try to minimize the driving noise via constructive measures beforehand. One possibility would be to fabricate a thick sheet of plexiglass that fits the side window precisely, with a minimal-sized opening for the camera lens cut into it. But that would require very careful planning and advance preparation.


Have fun with your next "traveling recording” – maybe one or another of these tips will help you.

items referred to